
Winter is the perfect time for cozying up with a warm drink, but what if you could turn fresh snow into a delightful frozen dessert? Snow cream is a simple, no-churn ice cream made with just a few basic ingredients freshly fallen snow, milk, sugar, and vanilla. This fun winter tradition has been enjoyed for generations, offering a sweet and creamy way to make the most of snowy days.
In this guide, we’ll cover everything you need to know about how to make snow cream, from its origins and essential ingredients to creative variations and important safety tips. Whether you’re looking for a quick treat for the kids, a nostalgic taste of childhood, or a unique winter party dessert, this step-by-step guide has you covered.
Now, let’s start with a bit of history and why snow cream is a seasonal favorite!
Table of Contents
What is Snow Cream?
The Origins of Snow Cream
Believe it or not, snow cream has been around for centuries! Some of the earliest records of people eating snow as a dessert date back to ancient China and Rome, where rulers would send servants to gather snow from mountaintops and mix it with honey and fruit juices. In the U.S., snow ice cream became popular in the South and Appalachian regions, where families would make it as a special winter treat.
How Snow Cream Differs from Traditional Ice Cream
Unlike regular ice cream, snow cream requires no heavy cream, churning, or special equipment. Instead, it relies on the light, fluffy texture of snow to create a creamy consistency. Traditional ice cream is slowly frozen while being churned to form tiny ice crystals, but with snow ice cream, the natural structure of snow mimics this process instantly giving you a soft, spoonable dessert in minutes.
Why It’s a Seasonal Favorite
One of the biggest reasons people love homemade snow cream is its novelty it’s a dessert you can only make when there’s fresh snowfall! The excitement of running outside to collect clean snow, mixing it up quickly, and enjoying it before it melts makes it a unique experience. Plus, it’s incredibly easy to whip up with ingredients you likely already have in your kitchen.
And let’s be honest who doesn’t love an excuse to play in the snow?
Ingredients Needed to Make Snow Cream
Making snow cream is as easy as it gets! Only a few materials are required, most of which you most likely already have in your home. Whether you’re making the classic version or adding a fun twist, choosing the right ingredients is key to getting the perfect texture and flavor.
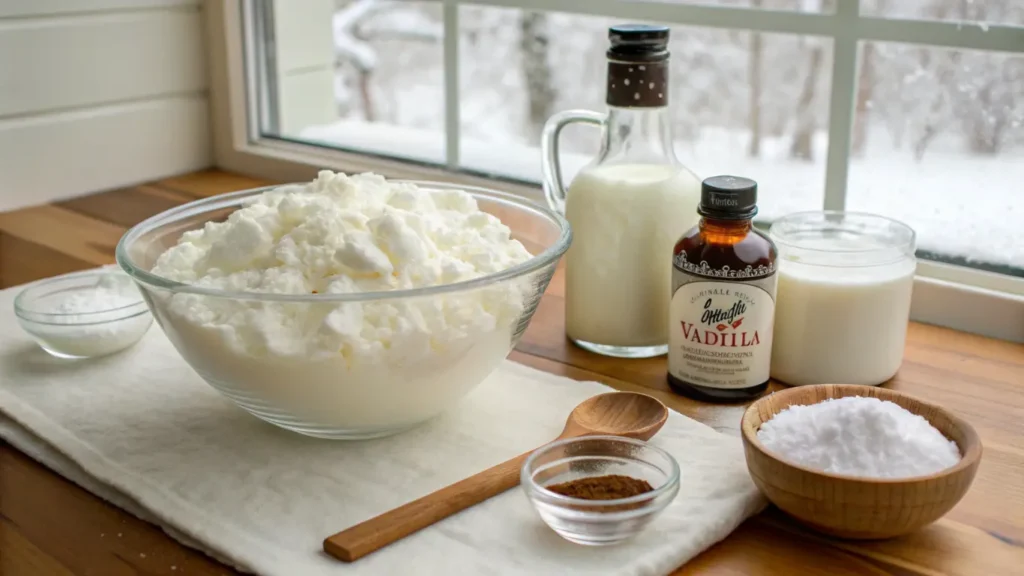
Essential Ingredients: Snow, Milk, Sugar & Vanilla
The foundation of how to make snow cream is fresh, clean snow. Since snow is mostly air, it gives the dessert its signature light and fluffy texture. But snow alone isn’t enough you’ll need a few simple ingredients to turn it into a creamy treat:
- Fresh snow – Aim for about 6 to 8 cups of clean, fluffy snow. Avoid snow that’s packed down or icy.
- Milk or cream – Whole milk works best for creaminess, but you can also use half-and-half, evaporated milk, or even coconut milk for a dairy-free version.
- Sugar – A 1/3 cup of sugar is usually enough to sweeten your snow cream, but you can adjust to taste.
- Vanilla extract – Just a teaspoon of vanilla adds a warm, rich flavor that balances the sweetness.
Optional Add-ins for Extra Flavor
Want to make your homemade snow cream even more exciting? Try adding some of these delicious extras:
- Sweetened condensed milk – This thick, creamy ingredient gives your snow cream a richer consistency.
- Cocoa powder – Mix in a couple of tablespoons for a chocolate snow ice cream twist!
- Maple syrup or honey – A natural way to sweeten your dessert without using refined sugar.
- Fruit puree – Strawberries, bananas, or blueberries can add color and flavor.
- Spices – Cinnamon, nutmeg, or even a pinch of salt can enhance the taste.
Choosing the Right Type of Snow for the Best Texture
Not all snow is created equal! To get the best results when learning how to make snow cream, follow these snow-choosing tips:
- Use fresh snowfall – The cleaner and fluffier, the better! Avoid snow that’s been sitting too long.
- Scoop the top layer – The top few inches are the cleanest. Avoid snow near roads, sidewalks, or rooftops.
- Work quickly – Snow melts fast once inside, so gather it last, right before mixing.
Now that you’ve got your ingredients, it’s time to put them together and make your snow cream!
Craving something new? Check out our favorite Apple Pie Moonshine Recipe and other top picks.
Step-by-Step Guide on How to Make Snow Cream
Now that you’ve gathered everything, let’s go through the simple steps of how to make snow cream. This process takes just a few minutes, so be ready to serve and enjoy it right away!
Step 1: Gather Fresh, Clean Snow
Since snow melts quickly, collect it just before you’re ready to mix your ingredients. Use a large bowl or container and scoop about 6 to 8 cups of fresh snow from the cleanest area available. Avoid discolored or compacted snow. If it’s very dry, you may need a little extra to get the right consistency.
Step 2: Mix the Liquid Ingredients First
In a separate mixing bowl, combine:
- 1 cup of milk (or preferred alternative)
- 1/3 cup of sugar
- 1 teaspoon of vanilla extract
Until the sugar is completely dissolved, whisk the mixture. This ensures even sweetness throughout your snow ice cream. If you’re using sweetened condensed milk, you can replace the sugar and milk with about 1/2 cup of condensed milk.
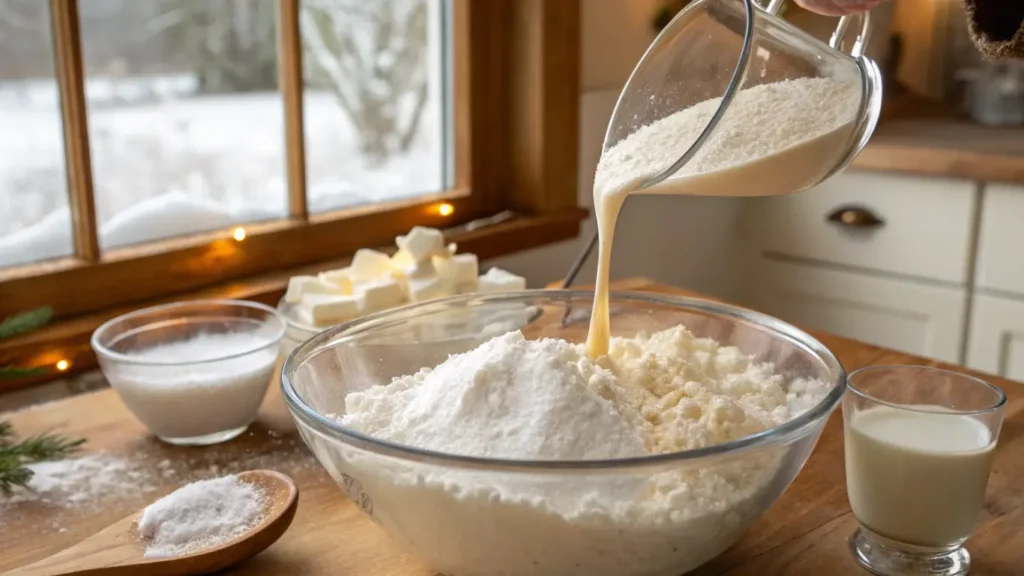
Step 3: Combine the Snow and Mixture Gently
Gradually pour the milk mixture over the snow while stirring gently with a wooden spoon or spatula. The key is to mix quickly but carefully over-mixing will cause the snow to melt too fast, resulting in a slushy texture. Keep stirring until everything is evenly combined.
Step 4: Adjust the Texture to Your Liking
If the snow cream seems too thin, add a little more snow to thicken it. If it’s too thick, mix in a splash of milk. The perfect consistency is smooth and scoopable, like soft-serve ice cream.
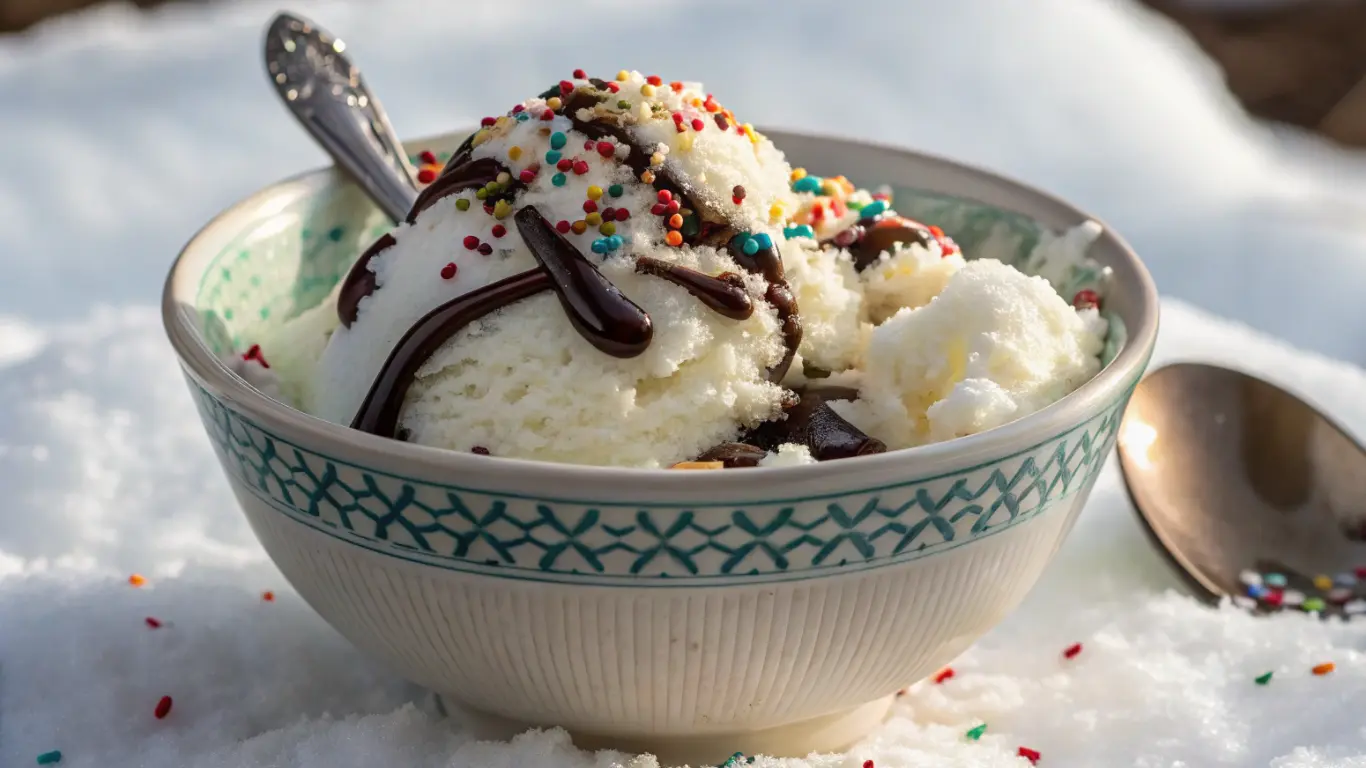
Step 5: Serve Immediately for the Best Taste
Snow ice cream is best enjoyed fresh! Scoop it into bowls or cones, and add your favorite toppings—sprinkles, chocolate chips, or a drizzle of caramel sauce can make it even better.
And there you have it! A delicious, homemade winter treat made in minutes. Want to get creative? In the next section, we’ll explore some fun flavor variations!
Creative Variations of Snow Cream
One of the best things about snow cream is how versatile it is. While the classic vanilla version is always a hit, there are plenty of ways to customize your snow ice cream with fun flavors and mix-ins. Whether you’re a chocolate lover, fruit fanatic, or looking for a dairy-free option, there’s a snow cream recipe for everyone!
Chocolate Snow Cream
For those who love rich, chocolatey desserts, this twist on how to make snow cream is a must-try. Instead of plain milk, use chocolate milk or mix 2 tablespoons of cocoa powder into the liquid ingredients before adding the snow. If you want an extra-decadent treat, drizzle melted chocolate or chocolate syrup on top!
Strawberry or Fruit-Flavored Snow Cream
Want a fruity twist? Blend 1/2 cup of fresh strawberries (or another fruit of your choice) with the milk before mixing it into the snow. You can also stir in a few spoonfuls of fruit puree or jam for a natural burst of sweetness. Banana, mango, and raspberry flavors work especially well.
Dairy-Free and Vegan Options
If you’re avoiding dairy, you can still enjoy homemade snow cream! Substitute regular milk with:
- Coconut milk for a creamy, tropical flavor.
- Almond milk for a lighter, nutty taste.
- Oat milk for a slightly sweet, smooth texture.
For a natural sweetener, use maple syrup, agave, or coconut sugar instead of white sugar.
Boozy Snow Cream for Adults
Looking for a fun, grown-up twist? Add a splash of Baileys, Kahlúa, or bourbon to your snow ice cream for a deliciously spiked version. Just be careful not to add too much alcohol, or the snow may melt too quickly!
Safety Tips When Making Snow Cream
While snow cream is a fun and easy winter treat, it’s important to make sure it’s safe to eat. Fresh snow may look clean, but it can contain impurities depending on where and how you collect it. Here are some key safety tips to keep in mind when learning how to make snow cream.
How to Ensure the Snow is Clean and Safe
To make the best snow ice cream, always use freshly fallen snow. It’s best to collect it after at least an hour of snowfall so that any airborne pollutants have been washed away. If possible, place a clean bowl outside at the start of the snowfall to catch the freshest, untouched snow.
Avoiding Contaminated or Polluted Snow
Not all snow is safe to eat! Avoid collecting snow from:
- Roadsides or driveways – It can contain dirt, salt, or vehicle pollution.
- Rooftops or near buildings – These areas may have dust, mold, or chemicals.
- Yellow or discolored patches – This should go without saying, but never eat yellow snow!
Using Alternatives If Fresh Snow Isn’t Available
No fresh snow? No problem! If you still want to enjoy homemade snow cream, try this alternative:
- Crushed ice method – Blend or shave ice cubes until they resemble fluffy snow, then follow the usual recipe.
- Frozen milk method – Freeze milk or dairy-free alternatives in a shallow dish, then scrape it with a spoon to create a snow-like texture.
By following these safety tips, you can enjoy snow ice cream without worry. Up next, we’ll look at some fun ways to serve and enjoy your delicious homemade treat!
Fun Ways to Serve and Enjoy Snow Cream
Now that you’ve mastered how to make snow cream, it’s time to take your dessert to the next level! While eating it straight from the bowl is always a treat, you can make it even more exciting with creative toppings, fun presentations, and unique pairings. Here are some great ways to serve and enjoy your homemade snow ice cream!
Toppings and Syrups to Enhance the Flavor
The right toppings can turn a simple bowl of snow cream into a gourmet dessert. Try these delicious add-ons:
- Sprinkles – A fun way to add color and crunch.
- Chocolate chips or chunks – For an extra burst of chocolatey goodness.
- Caramel or chocolate syrup – Drizzle on top for a rich, decadent flavor.
- Crushed cookies or graham crackers – Adds a nice crunch to every bite.
- Whipped cream and cherries – A classic ice cream topping combination.
- Chopped nuts – Almonds, pecans, or peanuts add a satisfying crunch.
Want something extra special? Try a peanut butter drizzle or a dusting of cinnamon and nutmeg for a warm, spiced flavor!
Serving Snow Cream at Parties and Gatherings
Hosting a winter party? Set up a snow cream bar where guests can customize their own bowls! Offer different mix-ins, syrups, and toppings so everyone can create their favorite combination. Kids and adults alike will love the interactive experience.
For an Instagram-worthy presentation, serve your snow ice cream in:
- Waffle cones or edible bowls – A fun, no-mess option.
- Hollowed-out oranges or coconuts – Great for a tropical twist.
- Mason jars – Perfect for layering with syrups and toppings.
Pairing Snow Cream with Other Winter Treats
Snow cream pairs well with warm, comforting treats! Enjoy it alongside:
- Hot chocolate – A spoonful of snow cream melts into a creamy topping.
- Warm brownies or cookies – The hot-and-cold contrast is irresistible.
- Cinnamon rolls – A sweet, spiced treat that complements the vanilla flavor.
No matter how you serve it, homemade snow cream is a fun and delicious way to enjoy the winter season. Now, let’s answer some common questions about this chilly treat!
FAQs About Making Snow Cream
What is snow cream made of?
Snow cream is made with freshly fallen snow, milk (or cream), sugar, and vanilla extract. Some versions add sweetened condensed milk, cocoa powder, or fruit puree for extra flavor and richness.
How to make snow with 3 ingredients?
You can make fake snow at home with just baking soda, cornstarch, and water. Mix equal parts baking soda and cornstarch, then slowly add water until it forms a light, fluffy texture that looks and feels like snow.
Is it safe to make snow cream out of snow?
Yes, it’s safe if you use clean, freshly fallen snow collected away from roads, rooftops, or polluted areas. The best method is to place a clean bowl outside to catch fresh snow as it falls. If you’re unsure about snow purity, use crushed ice as a substitute.
Can you make snow cream out of the first snow?
It’s better to avoid the very first snowfall of the season, as it can carry dust and pollutants from the air. Wait until it has been snowing for at least an hour before collecting snow for snow cream, ensuring it’s clean and safe to eat.
Conclusion: Enjoy the Magic of Homemade Snow Cream
Now that you know how to make snow cream, you’re ready to turn a fresh snowfall into a delightful winter treat! With just a few simple ingredients snow, milk, sugar, and vanilla you can create a creamy, no-churn dessert that’s both fun to make and delicious to eat. Plus, with endless flavor variations and toppings, you can customize it to suit any taste.
Remember to always use clean, fresh snow and experiment with different mix-ins like fruit, chocolate, or even a splash of your favorite liqueur. Whether you’re making snow ice cream for kids, hosting a winter party, or simply indulging in a nostalgic childhood memory, this quick and easy recipe is a must-try on a snowy day.
For more details abous snow ice cream, check out Snow cream.
So the next time the flakes start falling, grab a bowl and get creative. Enjoy your homemade snow cream—because nothing tastes quite as magical as a dessert made from winter itself!
Print
How to Make Snow Cream
- Total Time: PT5M
- Yield: 4 servings
Description
Learn how to make snow cream with fresh snow, milk, sugar, and vanilla. A fun, quick, and creamy winter treat with endless flavor variations!
Ingredients
6 to 8 cups of fresh, clean snow
1 cup milk (whole, evaporated, or half-and-half)
1/3 cup granulated sugar
1 teaspoon vanilla extract
Optional: pinch of salt, sweetened condensed milk, cocoa powder, fruit puree, or other flavorings
Instructions
In a large bowl, whisk together the milk, sugar, vanilla extract, and any optional ingredients until well combined.
Gradually add the fresh snow to the mixture, stirring continuously until it reaches a soft, ice cream-like consistency.
Serve immediately with your choice of toppings, such as sprinkles, chocolate chips, or fruit.
Notes
Ensure the snow used is clean and freshly fallen.
Snow cream melts quickly; it’s best enjoyed immediately after preparation.
For a richer flavor, substitute part of the milk with sweetened condensed milk.
Customize your snow cream with various add-ins like cocoa powder for chocolate flavor or fruit purees for a fruity twist.
- Prep Time: PT5M
- Cook Time: PT0M
- Category: Dessert
- Method: No-cook
- Cuisine: American
Nutrition
- Serving Size: 1 cup
- Calories: 132
- Sugar: 28g
- Sodium: 40mg
- Fat: 1g
- Saturated Fat: 1g
- Unsaturated Fat: 0g
- Trans Fat: 0g
- Carbohydrates: 28g
- Fiber: 0g
- Protein: 2g
- Cholesterol: 5mg